
Designed by Petite CharmSG
Please visit my Youtube channel for other free crochet along tutorials and techniques:
https://www.youtube.com/@PetiteCharmSG
You can also purchase an inexpensive printable PDF patterns on my Etsy shop, come with photos tutorials at each steps, including photos on how to make a pompom!
Note: The size shown here is for a toddler. If you’d like to make an for smaller baby or for adult size, please see the note below for recommendations on adjusting the gauge by using your own existing beanie.
Materials:
- Yarn PingOuin red mohair (size 4.5), holding 3 strands together.
– You can try to find similar composition of 80% Acrylique, 10% Mohair, 19% Laine if the brand PingOuin is not available in your country.
With this yarn, I bought 2 skeins and used up about one and a half skeins.
I have tips on how to with with 3 strands of yarn together from the same skein of yarn on my Youtube channel. Please watch if you are unsure.
Tips: How to hold 3 strands of yarn together from the same ball/skein of yarn?
First, take out some length of yarn, about 100cm long, fold it, and fold it again one more time to match the same length. You will now have 3 strands of yarn.
As you work, once you arrived at the end of the 3 strands, keep pulling through from the ball of yarn through the loop and you will always have 3 strands of yarn .
- When working with 3 strands together, I used crochet hook 5mm
Technique used (In US Terms):
– Single Crochet (SC)
– Double Crochet (DC)
– Chain
– Seam using whip stitch and running stitch
– Make pompom from scratch
– Slip stitch
– Working in Back Loop (BL) only
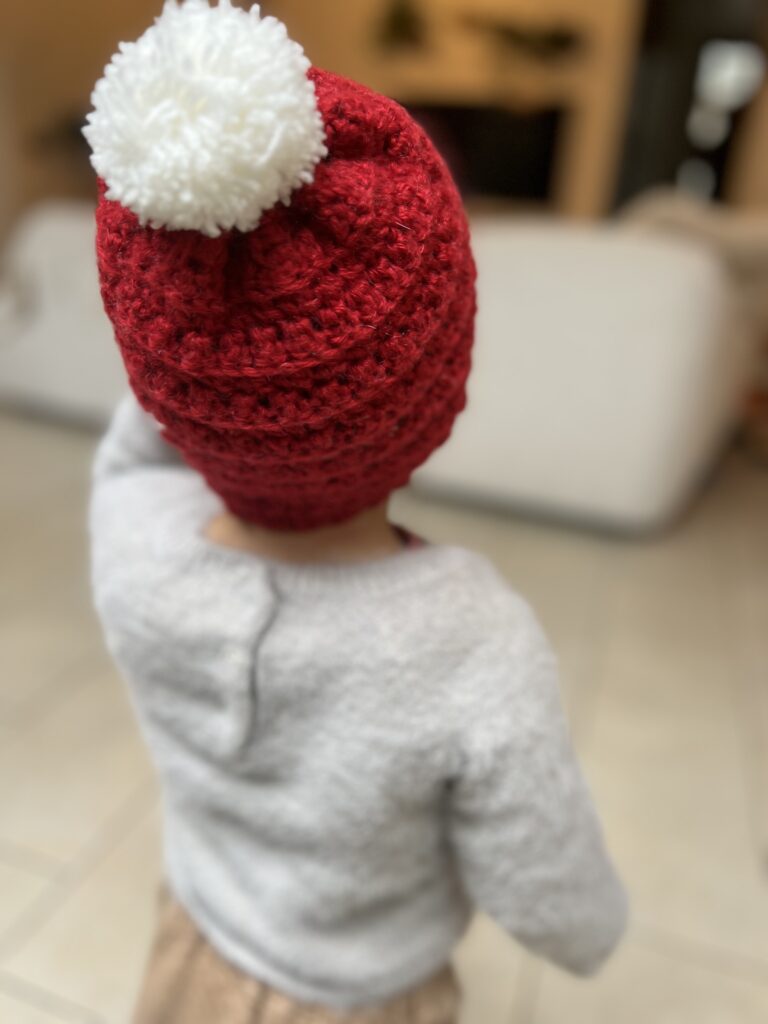
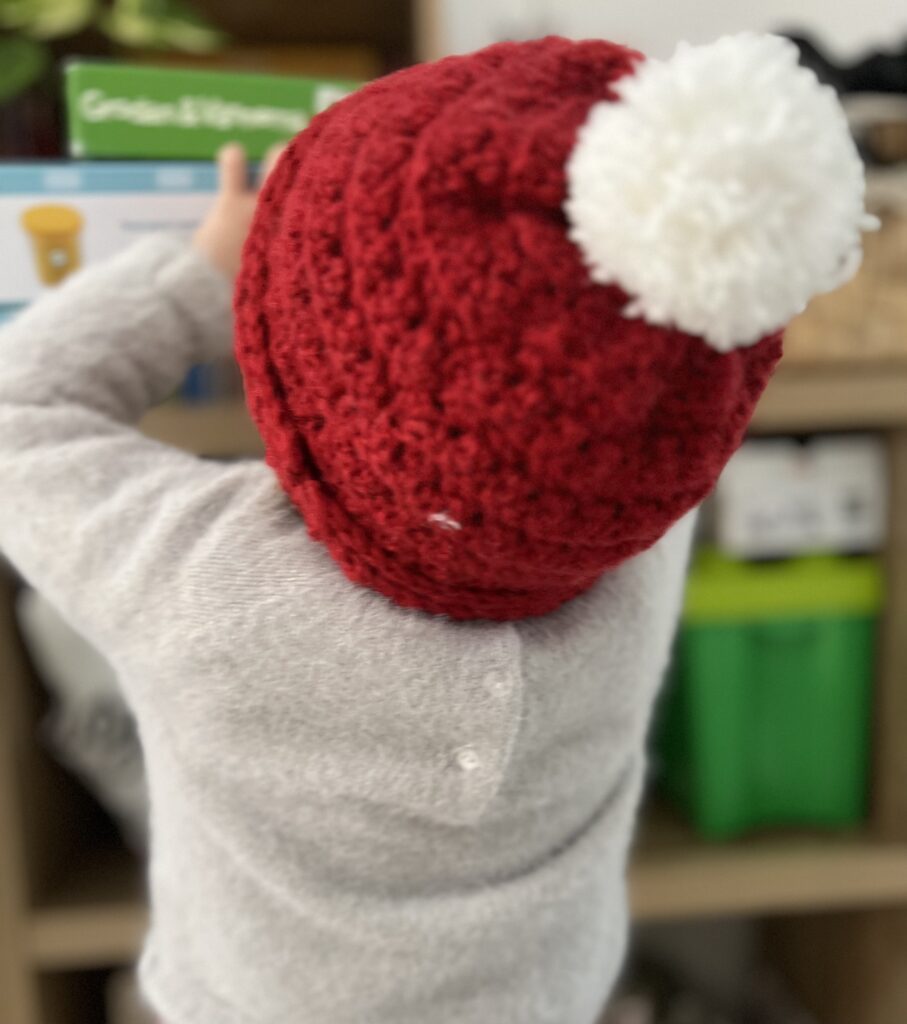
The Elizabeth Beanie is made for Toddler size (~18 months old and above)
Below you can see my measurements and gauge. Here is how the beanie is constructed. I work until achieve the length of about 40cm amd the width about 17cm. Then I sew it using whipped stitch to connect the 2 sides, and then using running stitch to pinch the top part of the beanie before sewing in the pompom.
The patterns – Please note again I am making this beanie for 18 – 24 months old toddler
Make a slip knot and Chain 60. Please make sure you chain loosely, otherwise the beanie will get bunch up.
Keep measuring the chain around your toddler’s head to get the desired band around their head.
Important: You can make it smaller (for newborn size), or bigger (for adult size) but please make sure you always measure around the head or gauge the number of required chain based on your existing beanie that you already had. This way, you can worry a bit less about the gauge if “gauge” doesn’t make any sense to you 🙂
You should make it 1 cm smaller as the beanie may stretch over time depending on the yarn you bought.
After getting the desired length of the band about the head, you will work in the back bump of the chain by SC in second chain from the hook, then DC in the next chain. *SC in the next chain, DC in next, and repeat this pattern * across the whole length, then turn your work.
Row 2: Chain 1, working in Backloop (BL) only, SC in the first stitch, DC in the next stitch, *SC in the next stitch, DC in next. Repeat from * across. Turn your work.
Row 3 to Row 44: repeat row 2. Finish and leave a long tail for seaming
You should now have the length as indicated in photo above (about 40-42cm in length and 17cm in width).
If not (due to different yarn used or hook size or tension of your hand), continue to work the same pattern until you achieve the length mentioned.
When arrived at the last stitch, you will leave a very long strand of yarn to seaming for later. Pull through and leave it there for we will continue to use that yarn to seam the sides together to connect the beanie and also to make running stitch to pinch the top part of the beanie together.
Contruction of the beanie:
Using whipped stitch to seam the sides of the beanie together. Note that the side where the seaming is visible will be the “wrong side” of the beanie.
Once you arrived seaming at the top, continue to sew the top of the beanie using running stitches so that you can pull the top of the beanie together. See photo
Pull it tight and make sure there is no holes on the top.
Now you should hide all the loose end yarn and fold the beanie to the right side.
Make a pompom:
Cut out 2 circles from carton paper like in photo on purchased patterns (diameter 7cm, but you can choose whichever other size you want if you would like smaller or bigger pompom).
Now you can sew in the pompom to the beanie. Make sure everything is very secured and the pompom is tight.
Thank you for sharing with me the joy of handmade arts and do share with me your craft on Etsy, or tag me on IG: PetiteCharmSG
Leave a Reply