
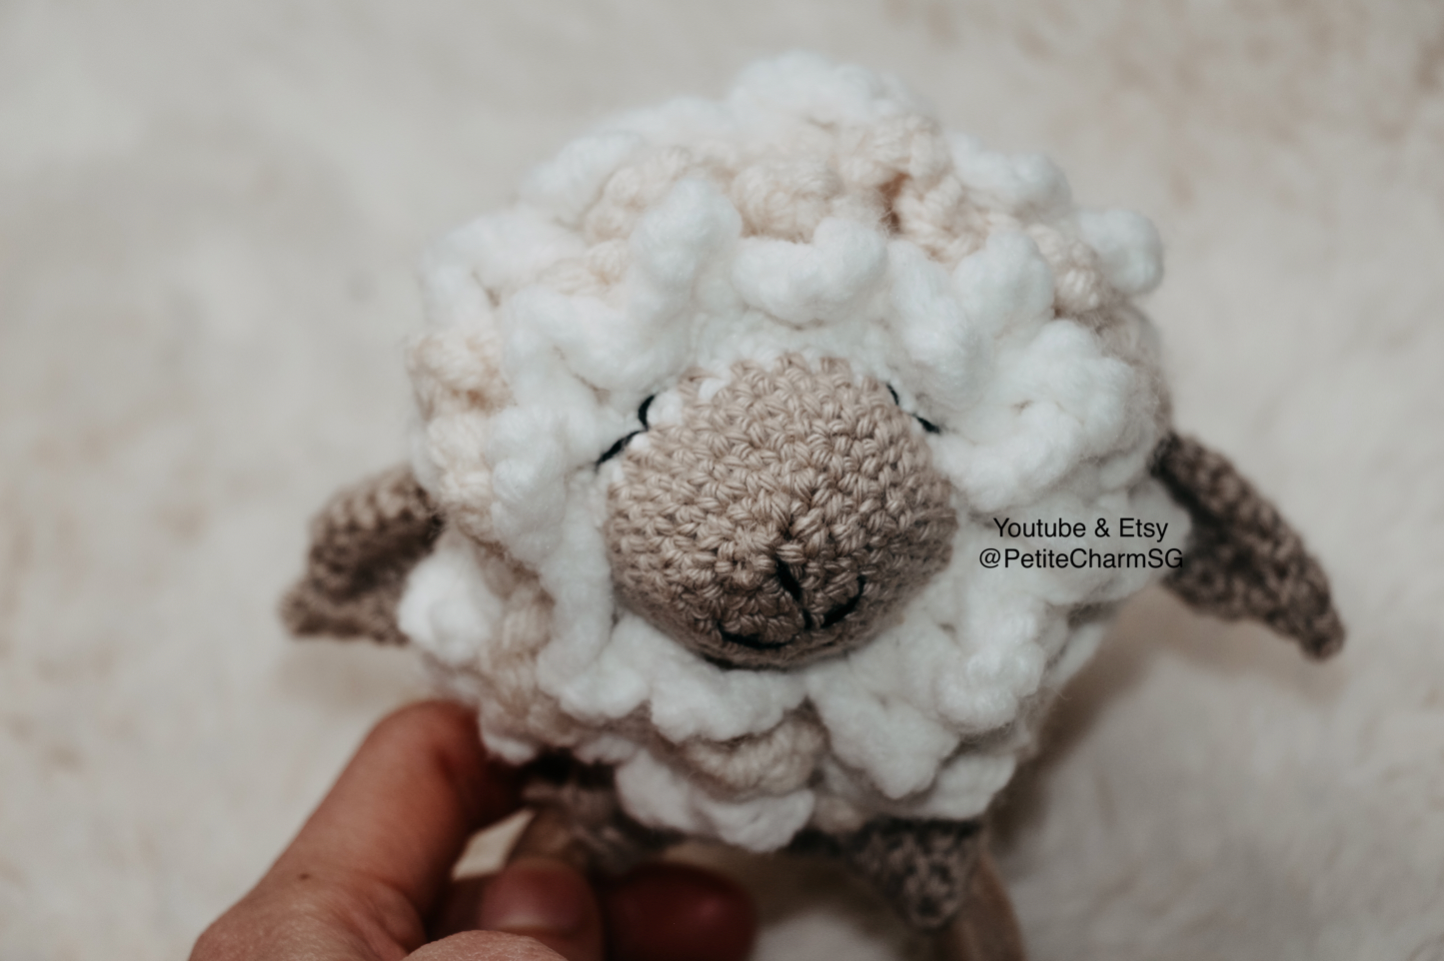
Crochet a Sheep rattle
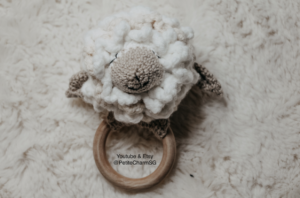
You can also purchase an inexpensive PDF printable patterns on my Etsy shop, which will come with step-by-step guided photos.
Please visit my Youtube channel for other free crochet along tutorials and techniques:
https://www.youtube.com/@PetiteCharmSG
This PDF download is a step-by-step guide on how to create cute sheep rattle for baby. It’s perfect for Baby Shower gifts, newborn announcements, baby birthday, etc…
Please note that you should use cotton yarn that are organic and safe to use when gift it to baby. Also, do not use small objects like eyelets when making the eyes for the toy as it will risk of choking.
Dimension: height 15cm including the ring (from top to bottom)
Level: Beginner
Materials:
- Crochet hook size 3mm and 3.5mm
- Cotton yarn size 3.5 in light brown for the ears, nose and the wooden ring
- Cotton yarn size 3.5 in white for the main head
- Acrylic mix cotton yarn size 6 in white and cream to make the hair of the sheep
- Some black yarn or thread to sew the eyes and nose/mouth of the sheep
- Wooden ring, diameter around 6.5cm specifically to make the rattle toy, can be bought in local arts store.
- Stuffing for Amigurumi toy
Techniques used (all in US terms)
– Magic ring
– Single Crochet (SC)
– Increase (meaning you do 2 SC into one stitch)
– Invisible Decrease
– Slip stitch
– Chain
Make the head
Using crochet hook size 3mm
In white cotton yarn size 3.5
Make 6 SC in a magic ring
Round 1: *2 SC into each stitch * x 6 ——(12)
Round 2: * 1 SC, 1 Increase* x 6 ——(18)
Round 3: * 2 SC, 1 Increase* x 6 ——(24)
Round 4: * 3 SC, 1 Increase* x 6 ——(30)
Round 5: * 4 SC, 1 Increase* x 6 ——(36)
Round 6: * 5 SC, 1 Increase* x 6 ——(42)—— photo 1
Round 7- 11 (5 rounds) : SC in each stitch
Round 12: *5 SC, 1 invisible decrease* x 6 ——(36) Photo 2 shows invisible decrease technique
Round 13: SC all around
Round 14: SC all around
Round 15: 4 SC, 3 Invisible decrease, SC 26 ——(33)
Round 16: 3 SC, 3 Invisible decrease, SC 24 ——(30)
Round 17: SC all around
Round 18: *3 SC, 1 invisible decrease* x 6 —-(24)
Start with the stuffing (photo 3)
Change to light brown cotton yarn size 3.5 to make the nose part (photo 4)
Round 19 – 21 (3 rounds): SC all around
Round 22: *2 SC, 1 Invisible decrease* x 6 —-(18)
Round 23: SC all around
Round 24: *1 SC, 1 Invisible decrease* x 6 —-(12)
Round 25: 6 Invisible decrease to close off. (Photo 5)
Make the fluffy hair around the head
Using acrylic mix coton yarn size 6, but using crochet hook size 3.5mm (photo 6)
Make a slip knot, then hook into the top of the head to connect and Chain 6, slip stitch into the top of the head, then slip stitch to the next space (can be anywhere as long as you feel it’s space out nicely and equally), then chain 6, and continue the process all around the head. (Photo 7 – 10)
Once done, I will check back to see if there are any empty space that can still be filled with hair (the chain 6), I will change to color white to fill out the rest.
Tips: Always end with a slip stitch , make sure you fill out all the empty spaces, alternate white and cream color for a fluffy, mix color hair effect.
Cut all loose end yarn and weave in.
Make the ears (x2)
Using light brown color cotton yarn size 3.5 same as for the nose of the sheep
Make a slip knot and chain 10 . Then join to the first chain with a slip stitch to make a circle.
Round 1 to 4: (4 rounds) — work SC in each stitch around the circle you just formed.
(Tips: make sure that your “right side” or the round circle is facing outside and your circle is not twisted.
Round 5: *4 SC, 1 Increase * x 2 ——- (12)
Round 6: SC in each stitch
Round 7: *5 SC, 1 increase * x2 —— (14)
Round 8: *5 SC, 1 Invisible decrease* x 2 ——(12)
Round 9: * 4 SC, 1 Invisible decrease * x 2 —-(10)
Round 10: * 3 SC, 1 Invisible decrease * x2 ——(8)
Round 11: *2 SC, 1 Invisible decrease * x2 ——(6)
Round 12: do 3 invisible decrease to connect and chain one, fasten off, leaving yarn long enough to continue to use a needle to pinch the top and create the ear effect like in photo 11, 12 and 13
Sew in both ears on the side. (Photo 14, 15). I like to have one ear up and one ear down as I think it’s cuter but it’s entirely up to how you would like it.
Make the cover for the wooden ring
I bought the wooden ring from the local art store, with diameter 6,5cm.
Using the same color yarn as the nose and the ear.
Step 1: Make a slip knot, then chain 17 ( you can chain more if you want to cover more part of the ring or if your ring diameter is larger than mine)
Step 2: Then do double crochet by yarn over and insert into the 2nd stitches from the top chain (the chain where your yarn coming out is not counted as a stitch). See photo where to insert your hook.
Step 3: Continue to do DC until the end of the row. All together you should do 15 DC. Then chain 2, and flip your work
Step 4: do DC until the end for that row. Remember you do not do anything to the first chain 2. You insert the hook into the first “offiial stitch” that come from the row itself. See photo 16
Continue to flip your work and chain 2 at the beginning of every row to make Double Crochet along that row until you obtain the desired width for the wooden ring.
For my case, I have made total of 4 row.
Keep testing on my ring to make sure it’s can cover the thickness of the ring. Photo 17
Now you will fasten off and leave a long tail end before cut off yarn (long enough that you can use to continue to use the needle and sew in along the length to cover the wooden ring).
Important: now you will whipped stitch together like in photo 18 to cover the wooden ring. But you must do so only until about half way. Then use yarn on your needle to sew it in with the head of the sheep and make sure the needle go around the ring and not the ring cover. If you just sew the head of the sheep over the ring over, the whole toy will be very wobbly and not sturdy. I go around the inside of the ring many rounds before continue to sew on the rest of the ring cover (the crochet part). See photo 19. I have to make sure I distribute the yarn all around the wooden ring and keep sewing it over the neck of the sheep so that it won’t be woobly.
Then you go back and forth around the neck a few times to really secure it before cutting yarn off.
Finishing touch, sew in the eyes and nose. Make sure everything is secure, cut yarn.
Leave a Reply